

Billing & Balance
Your company has two separate budgets. Balance pays for campaigns and feeds. Credits pay for profile search and enrichment. You see both under Settings > Usage, and the badge in the top bar switches between them.
What you are billed for is under Settings > Billing, on the Plan, Billing and Invoices tabs. The plan is charged per published job opening, and top-ups are charged to the payment method you authorised.
Relations
- Promotion — paid from the balance.
- Feed — a managed feed is paid from the balance.
- Talent Pool: sourcing into one and enriching spend credits, not balance.
- Job opening — publishing one uses a slot, and the plan bills per slot.
- Company — the billing details on the invoices are the company's.
Balance and credits
The card under Settings > Usage > Balance shows one budget at a time. Select the switch icon to move between them.
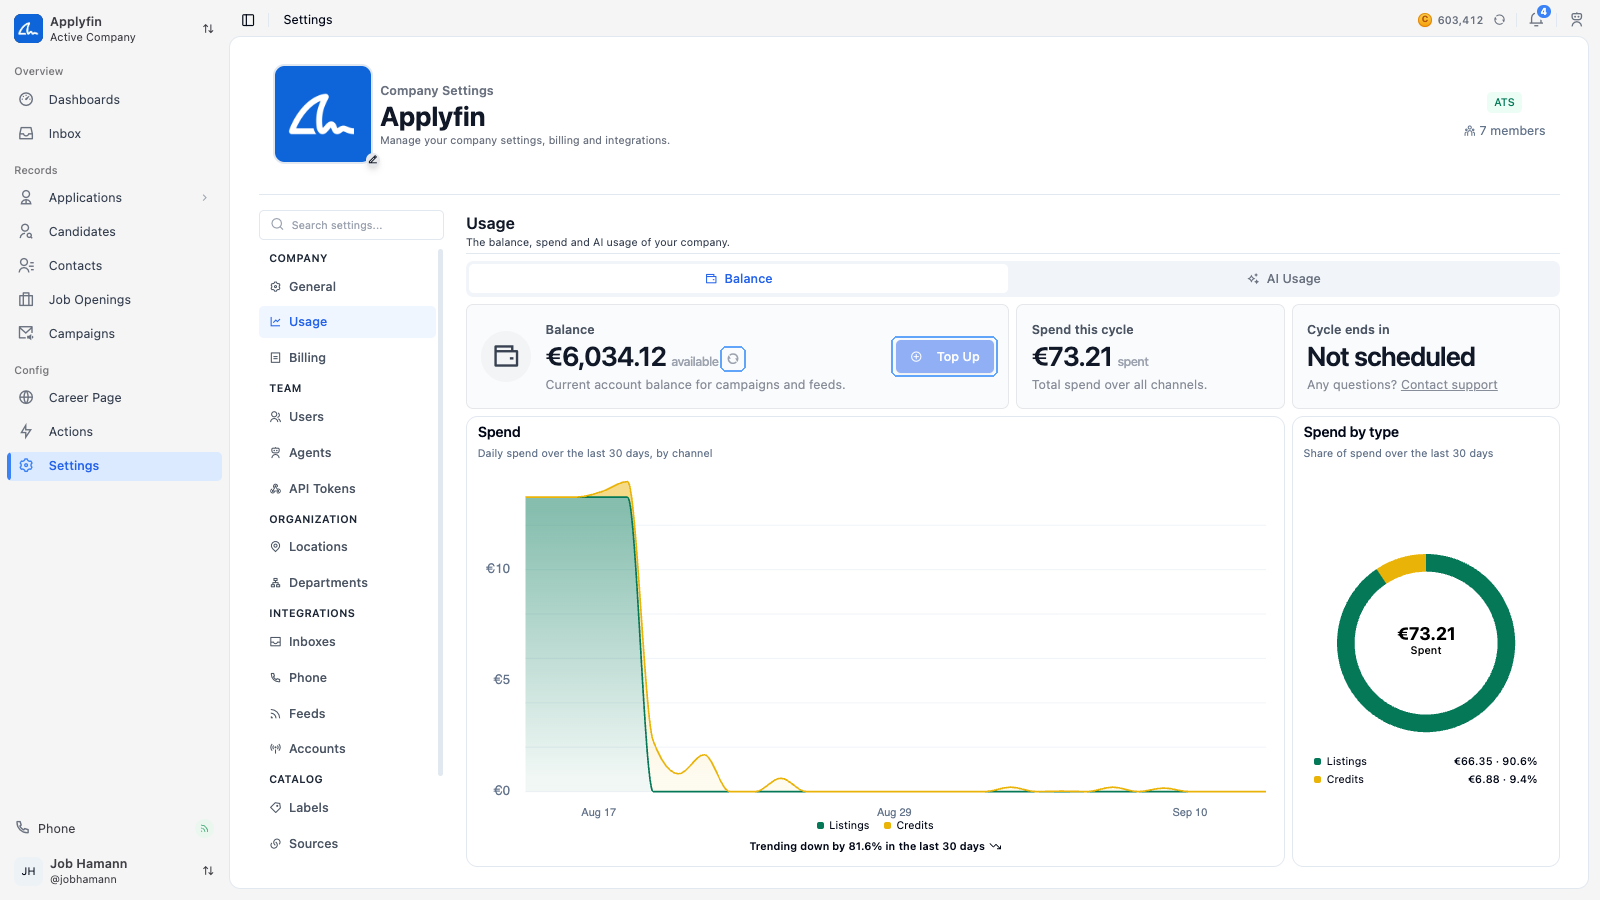
- Balance — what you can spend on campaigns and feeds.
- Credits — what you can spend on search and enrichment.
Next to it are Spend this cycle, the total spend over all channels, and either Cycle ends in or Trial ends in. Two charts split the spend by day and by type.
Reading AI usage
Settings > Usage > AI Usage shows Usage this cycle as a percentage of your fair-use limit.
The Fair use limit grows with the number of job openings you published this cycle. With none published, the minimum applies.
Topping up your balance
To pay for campaigns and feeds, add to your balance.
- Open Settings > Usage.
- Select Top Up.
- Fill in the Amount.
- Select Continue.
- Check the Current balance, the Top-up amount and the New balance.
- Check the Subtotal, the Tax and the Total charged.
- Select Charge.
The amount is charged to your authorised payment method, and the balance goes up.
Authorising a payment method
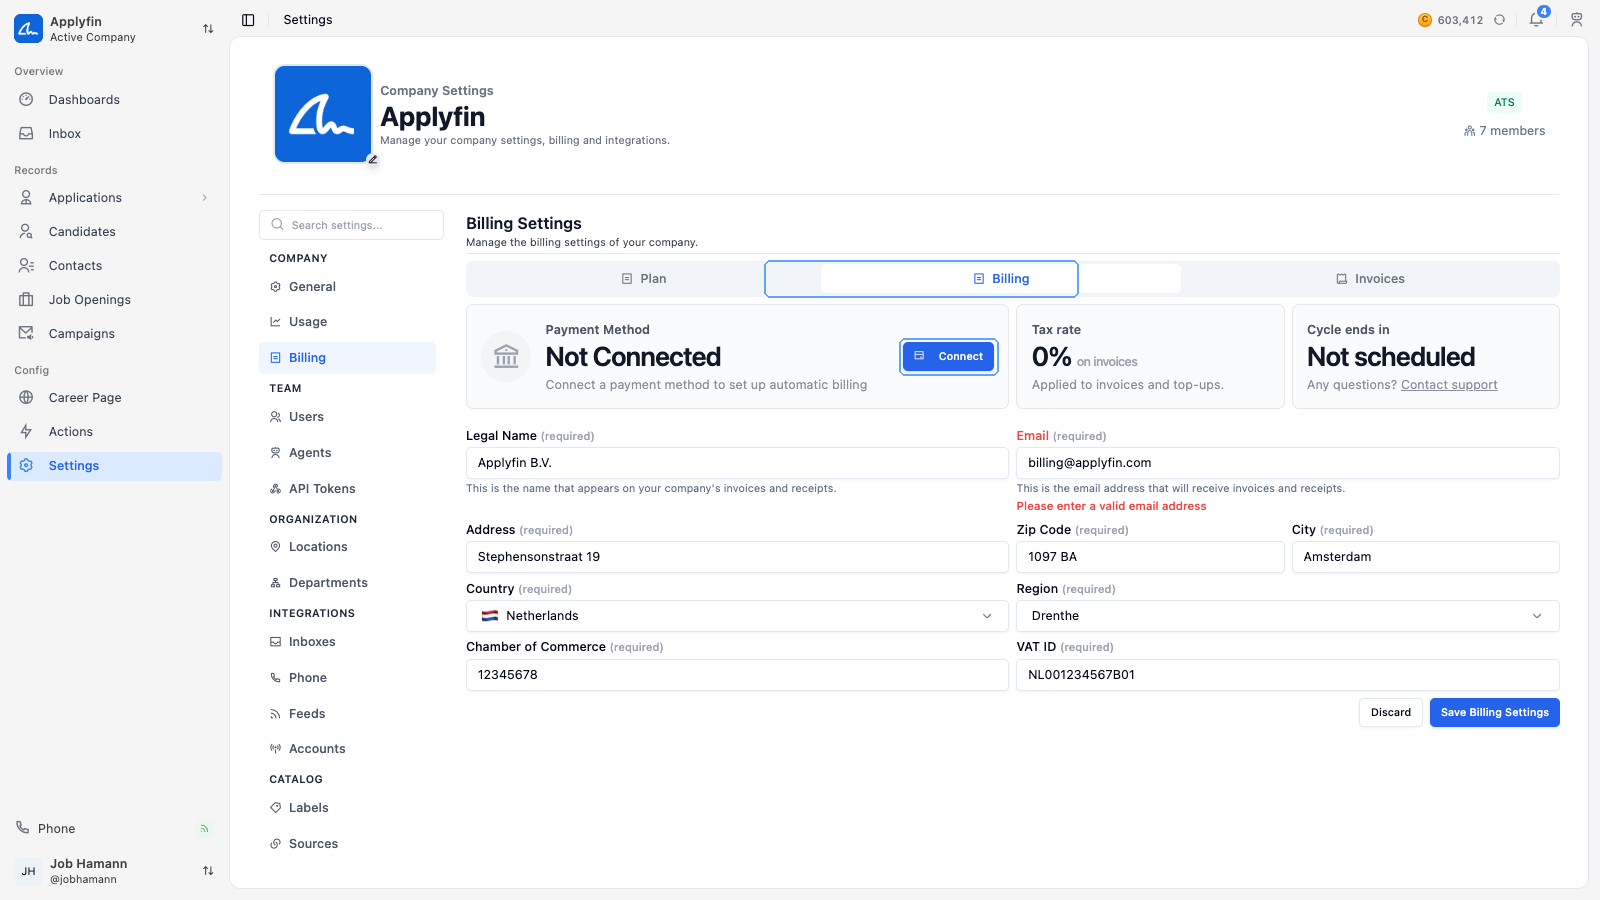
To let Applyfin charge you, connect and authorise a payment method.
- Open Settings > Billing and select Billing.
- Select Connect on the Payment Method card.
- Pick Credit Card / Wallet or SEPA Direct Debit.
- Complete the details the method asks for.
The card reads Active and authorized, and invoices are charged automatically.
SEPA Direct Debit asks for the Debtor IBAN, the Debtor Account Holder, your agreement to the mandate, a Signature, a Location and the date.
The card shows the status of your payment method.
- Not Connected — no method yet. Select Connect.
- Inactive — connected but not authorised. Select Authorize.
- Active — authorised. View Mandate, Update and Cancel are offered.
- Cancelled — cancelled, but you keep access until the end of the cycle. Select Resume.
- Expired — cancelled and the cycle has ended. Select Reauthorize.
Filling in billing details
To have invoices carry the right legal details, fill them in.
- Open Settings > Billing and select Billing.
- Fill in the Legal Name and the billing Email.
- Fill in the Address, Zip Code, City, Country and Region.
- Fill in the Chamber of Commerce number and the VAT ID.
- Select Save Billing Settings.
Reading your plan
Settings > Billing > Plan shows what you are being billed for this cycle. You cannot change anything here.
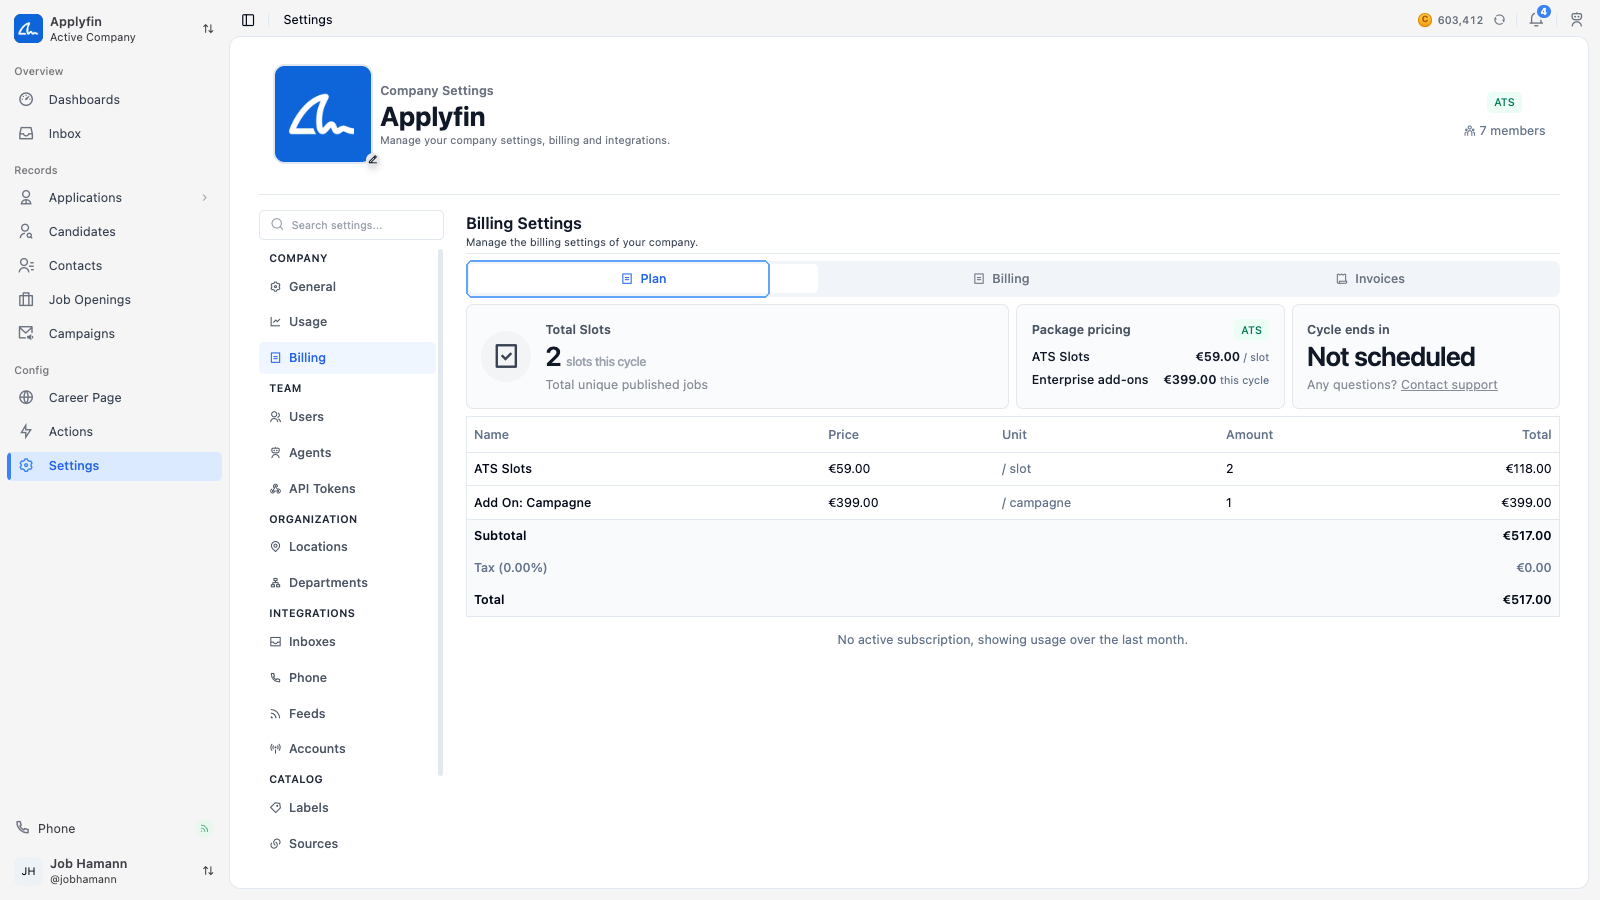
A company is on an ATS, RPO or Hybrid plan. Total Slots counts the job openings published this cycle. A hybrid plan splits that between ATS and RPO.
The table lists ATS Slots, RPO Slots and any add-ons with their price, unit, amount and total, then a Subtotal, the Tax and the Total.
Deleting your company
To close a company for good, delete it under Danger Zone.
- Open Settings and select Danger Zone.
- Select Delete Company.
- Type the company name, confirm the action and select Delete.
Finding an invoice
To download an invoice, open the orders list.
- Open Settings > Billing and select Invoices.
- Search by order number or id.
- Filter on Payment Status, or sort by Total or Created at.
- Select Download Invoice on the row.
An order is Paid, Open, Failed, Expired, Partially refunded or Fully refunded. A failed order offers Retry.