

Users
Users are the people who work in your company in Applyfin. They are managed under Settings > Users, where you invite them, set their role and assign the departments, locations and inboxes they work in.
A role decides what a user may do. The departments, locations and inboxes decide what they see. The role is chosen when you invite them and can be changed later; the departments, locations and inboxes are assigned after they have joined.
Relations
- Department — a user is assigned the departments they work in.
- Location — a user is assigned the locations they work in.
- Inbox — a user is assigned the inboxes they can read and reply from.
- Application — can be assigned to a user, who is then responsible for it.
- API token — a user has their own tokens.
Inviting a user
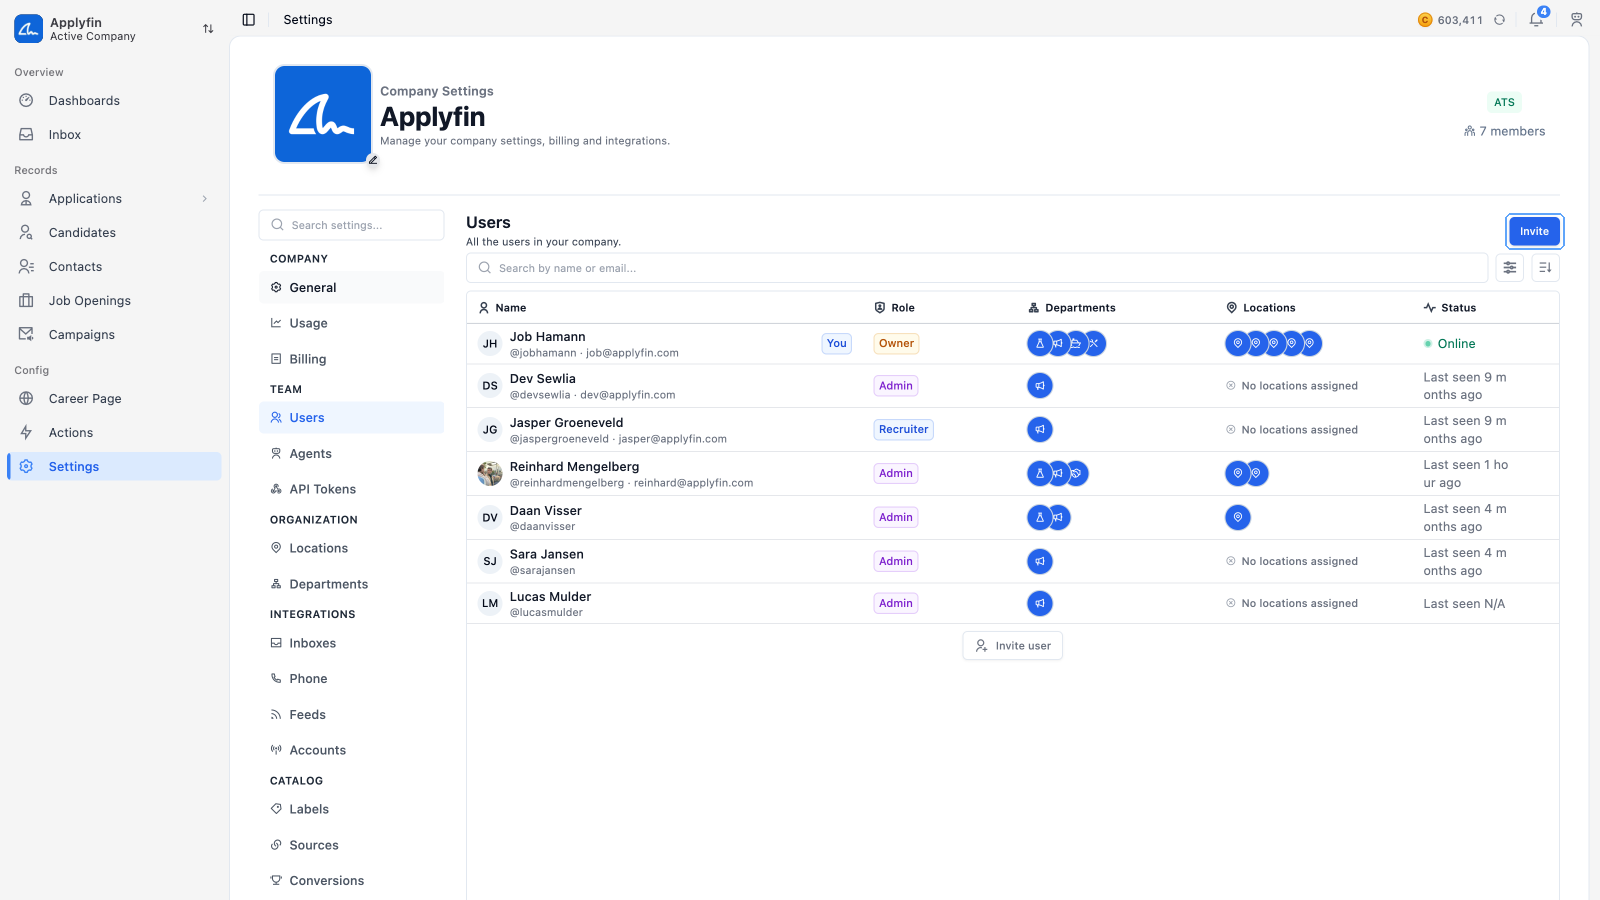
To give a person access to your company, invite them.
- Open Settings > Users and select Invite.
- Select Invite user.
- Fill in their email address or Applyfin username. Applyfin shows you the account it belongs to, or tells you no account holds the address yet.
- Select Next.
- Select the Role they join with and select Send invite.
Applyfin emails them a link to join your company. The link is valid for 7 days. They do not need an Applyfin account yet: someone without one signs up with the invited address first, verifies their email, and then opens the link again.
Pending invitations
The Invitations page lists every invitation that has not been accepted yet, with the Invitee, the Role, who it was Invited by, when it Expires and when it was Sent. Invitee shows the account behind the address once there is one, and the bare address until then. An invitation stays in the list after it expires, marked Expired.
- Resend emails a new link and gives the invitation 7 more days. The old link stops working. This is also how you revive an expired invitation.
- Revoke removes the invitation. The link stops working immediately.
Once the person joins, the invitation disappears from the list and they appear under Settings > Users.
Setting a role
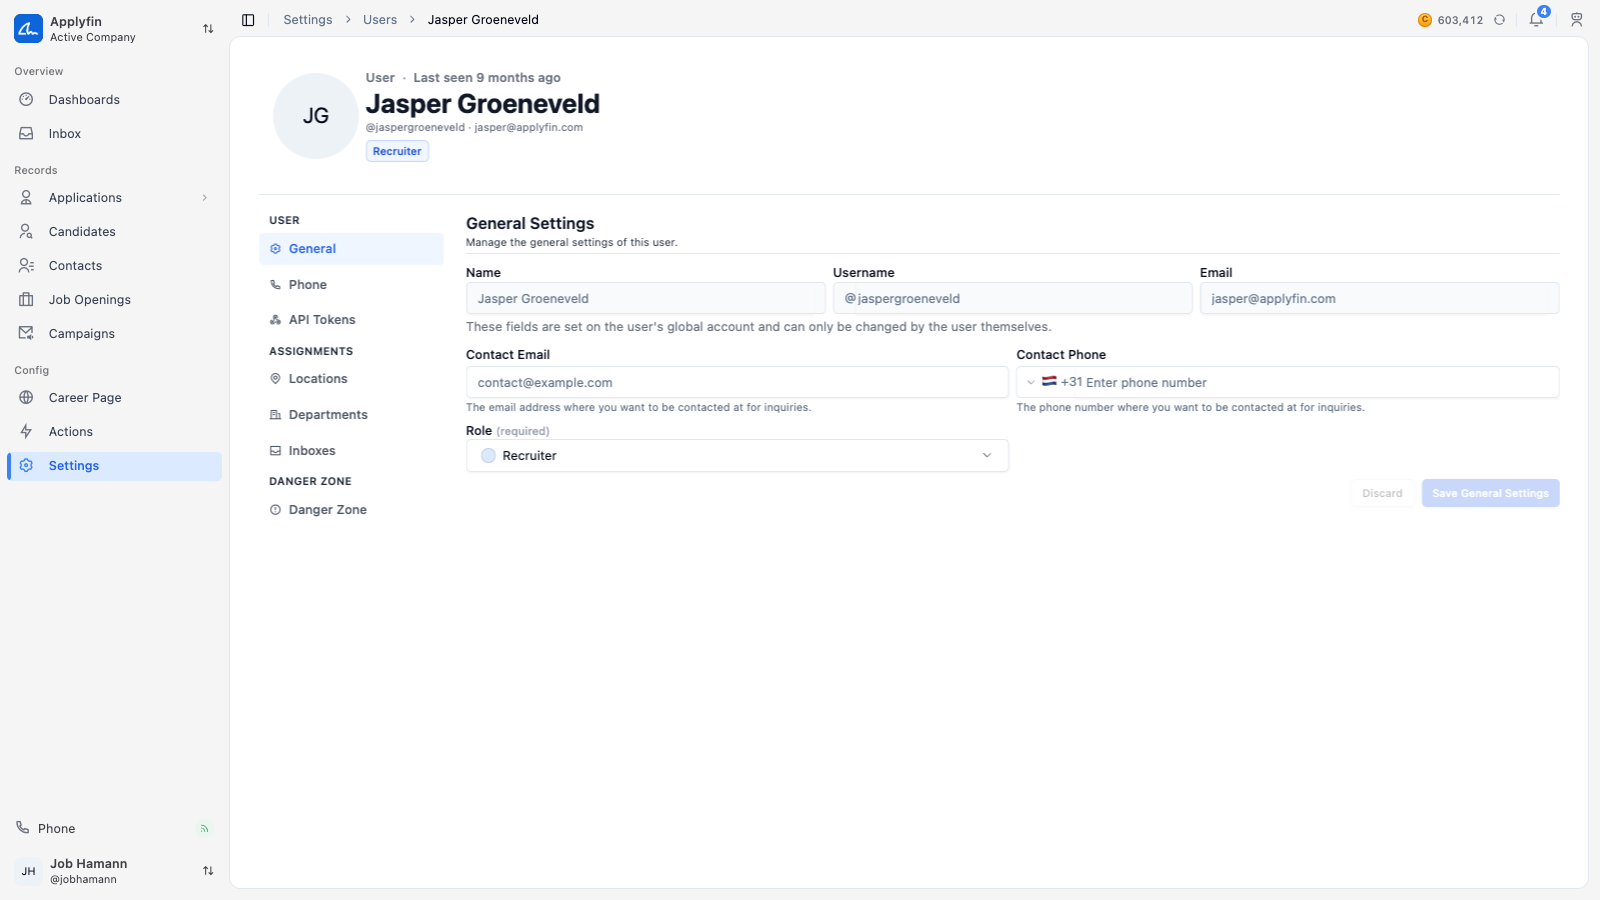
To decide what a user may do, set their role.
- Open Settings > Users and select the user.
- On General Settings, set the Role.
- Select Save General Settings.
The roles are Owner, Admin, HR Manager and Recruiter.
Role permissions
A role decides which parts of Applyfin a user can see.
- Owner and Admin see everything, and are the only roles that can create, edit and delete records in Settings.
- HR Manager sees Career Page, but not Actions or Settings.
- Recruiter sees neither Career Page, Actions nor Settings.
Every role sees Dashboards, Inbox, Applications, Talent Pools, Contacts, Job Openings and Campaigns.
Assigning access
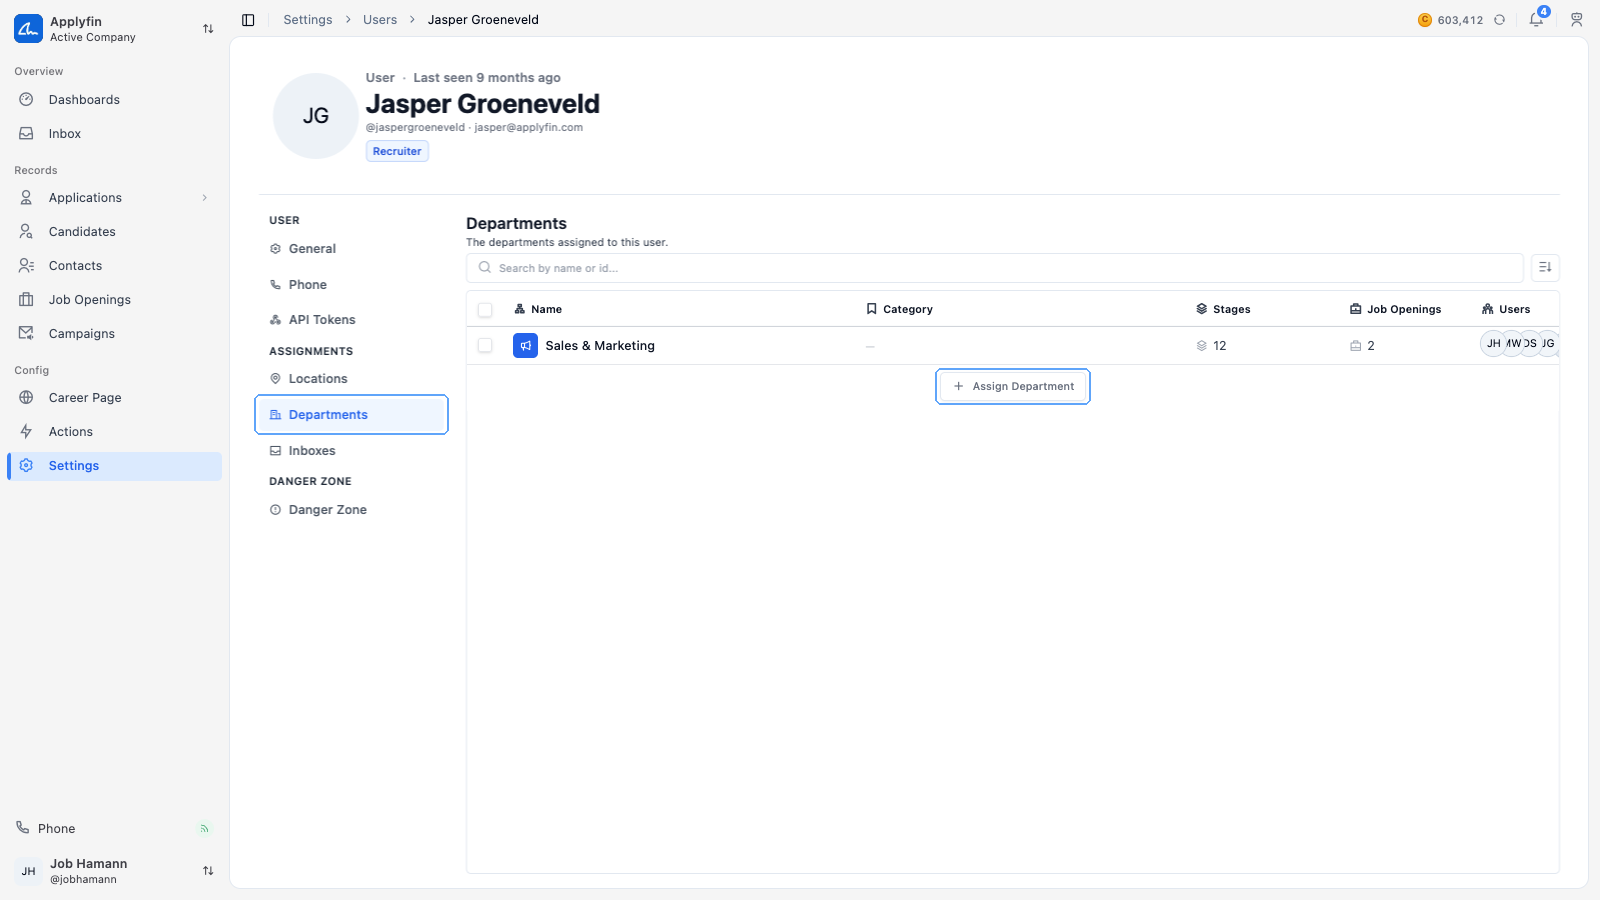
To decide what a user sees, assign them departments, locations and inboxes.
- Open Settings > Users and select the user.
- Select Departments, Locations or Inboxes.
- Select Assign Department, Assign Location or Assign Inbox.
- Find the department, location or inbox.
- Select Assign on its row.
- Confirm.
The user now works in it.
To take one away, select Unassign on its row and confirm. Tick several to unassign them at once.
Finding a user
The list shows the Name, the Role, the Departments, the Locations and the Status. Created can be added.
Status shows whether the user is online right now. It reads Online, or Last seen with a time.
To find a user, open Settings > Users, search by name or email, and filter on Role, Department or Location.
Removing a user
To take someone out of your company, remove them as a user.
- Open Settings > Users and select the user.
- Select Danger Zone.
- Select Remove.
- Confirm the action and select Remove.