
Contacts
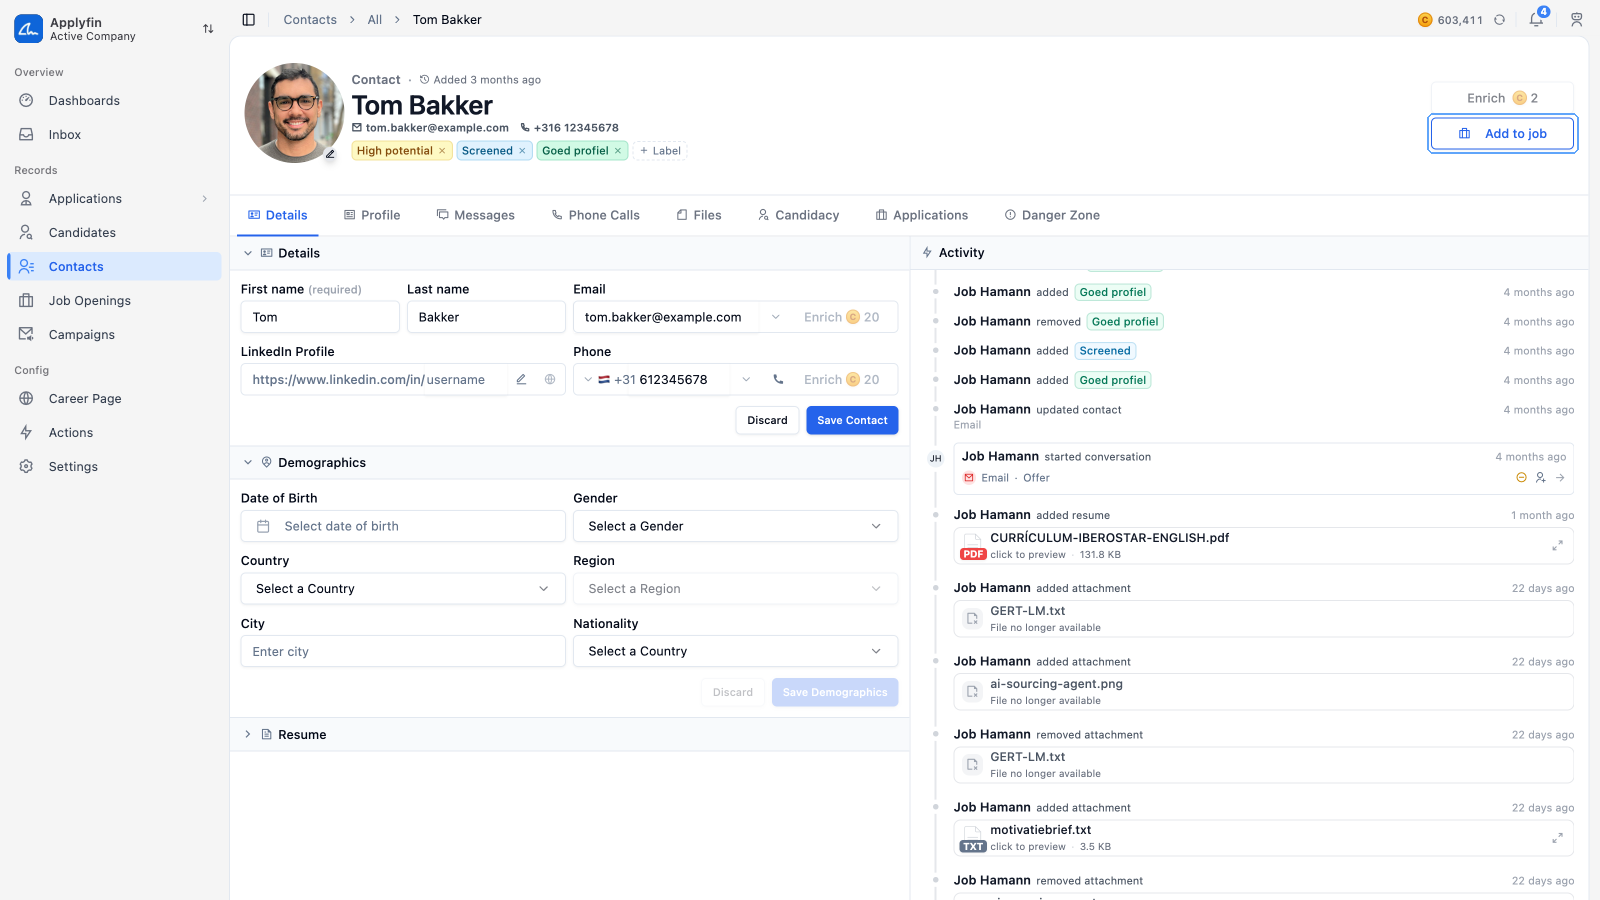
A contact is a person in your Applyfin database. Contacts are listed under Contacts, and a contact opens on Details, with Profile, Messages, Phone Calls, Files and Applications alongside it.
A contact holds more than a name. It has the person's work history, with each role, employer and period, plus the profile details Applyfin filled in through enrichment. The same person can apply to two job openings and be a member of several talent pools, and all of it belongs to this one contact.
Relations
- Talent Pool: a contact can be a member of several talent pools.
- Application — the applications this contact made.
- Conversation — a conversation belongs to one inbox and one contact.
- Phone call — the calls made to and from the contact.
- Label — contacts have their own labels, set under Settings > Labels.
Filtering the list
To find one person in the list, filter it.
- Open Contacts.
- Search by name, email or phone.
- Select Filters and filter on Gender, Label or Talent Pool. Pick No gender to find contacts without a gender. Pick several talent pools to see the contacts in any of them.
- Sort by Name, Email, Updated at or Created at.
- Select Columns to choose what is shown.
The list now shows only the contacts that match.
Name is always visible. Email, Phone, Labels, Talent Pools and Applications are shown by default, and Created can be added.
Select Kanban to see the same contacts as cards in columns, grouped by Gender or by Label.
Exporting contacts
To download a list of contacts, export them.
- Open Contacts.
- Tick the contacts you want.
- Select Export in the selection bar.
- Confirm on Export contacts.
The export is a CSV.
Creating the contact
Creating a contact takes three steps: Contact Details, Demographics and Files.
To add someone to your database, create them as a contact.
- Open Contacts and select Create New.
- On Contact Details, fill in the First name and Last name.
- Fill in the LinkedIn Profile, the Email and the Phone.
- Select Next.
- On Demographics, fill in the Date of Birth, the Country, the City, the Gender, the Region and the Nationality.
- Select Next.
- On Files, upload the Avatar, the Resume and any Attachments.
- Select Create Contact.
The contact now appears under Contacts.
Creating it with the agent
The create screen has two modes, switched at the top right: Form (the steps above) and Agent. The agent creates the contact from whatever you paste.
To create a contact from a signature, a profile summary or a few notes, use the agent.
- Open Contacts and select Create New.
- Select Agent at the top right.
- Paste or write what you know about the person in Describe the contact.... A name is enough; add the email, phone and LinkedIn profile when you have them, or attach their CV (a PDF, for example) with the paperclip.
- Send the message. The agent starts, checks whether the contact already exists, and creates it.
- Read the contact it reports back, and ask for changes in the same chat.
The contact now appears under Contacts.
The contact tabs
The Details tab lists the contact's details one per row. Select a value to edit it in place. Your changes save on their own as you type. To go back to the values the contact had when you opened it, select Undo changes in the section header. This works the same in Demographics on the Profile tab.
The Profile tab holds everything about the person beyond their name. It has About, Experience, Education, Skills and Demographics. Demographics holds the age, gender and location; the other sections each have a pencil to edit them by hand.
- About — the Headline and the About text, plus a Signals panel with Quality, Transition, Telecommute and Activity.
- Experience — each role with its company, dates and description.
- Education — each school with its field of study and dates.
- Skills — the skills recorded for the person.
Enriching a profile
Enrichment reads the person's LinkedIn profile, so the contact needs a LinkedIn Profile first. Without one the button is disabled and reads A LinkedIn profile is required for enriching.
To fill in a profile without typing it, enrich the contact.
- Open the contact and check that LinkedIn Profile is filled in.
- Select Enrich in the header.
- Confirm on Enrich profile.
The experience, education and skills are filled in from the person's LinkedIn profile.
Adding to a role
The Applications tab lists the roles the contact applied for, or was added to.
To put someone in the pipeline for a role, add them to it.
- Open the contact.
- Select Apply to Job in the header.
- Pick the job opening.
- Select Create Application.
The role now appears on the contact's Applications tab.
Adding to a talent pool
To group someone with other people, or have them assessed against a role without an application, add them to a talent pool.
- Open the contact.
- Open the menu next to Apply to Job in the header and select Add to Talent Pool.
- Pick the talent pool and select Add to Talent Pool, or select New to create one.
To add several contacts at once, tick them in the Contacts list and select Add to Talent Pool in the selection bar.
The Talent Pools tab lists the talent pools the contact is a member of, with each pool's role and member count. Select a talent pool to open it, or select Add to Talent Pool above the list to add the contact to another one.
The Messages tab
A contact holds the whole history with the person, across every role. The Messages tab lists the Conversations on the left and the selected Conversation on the right. Phone Calls does the same for calls.
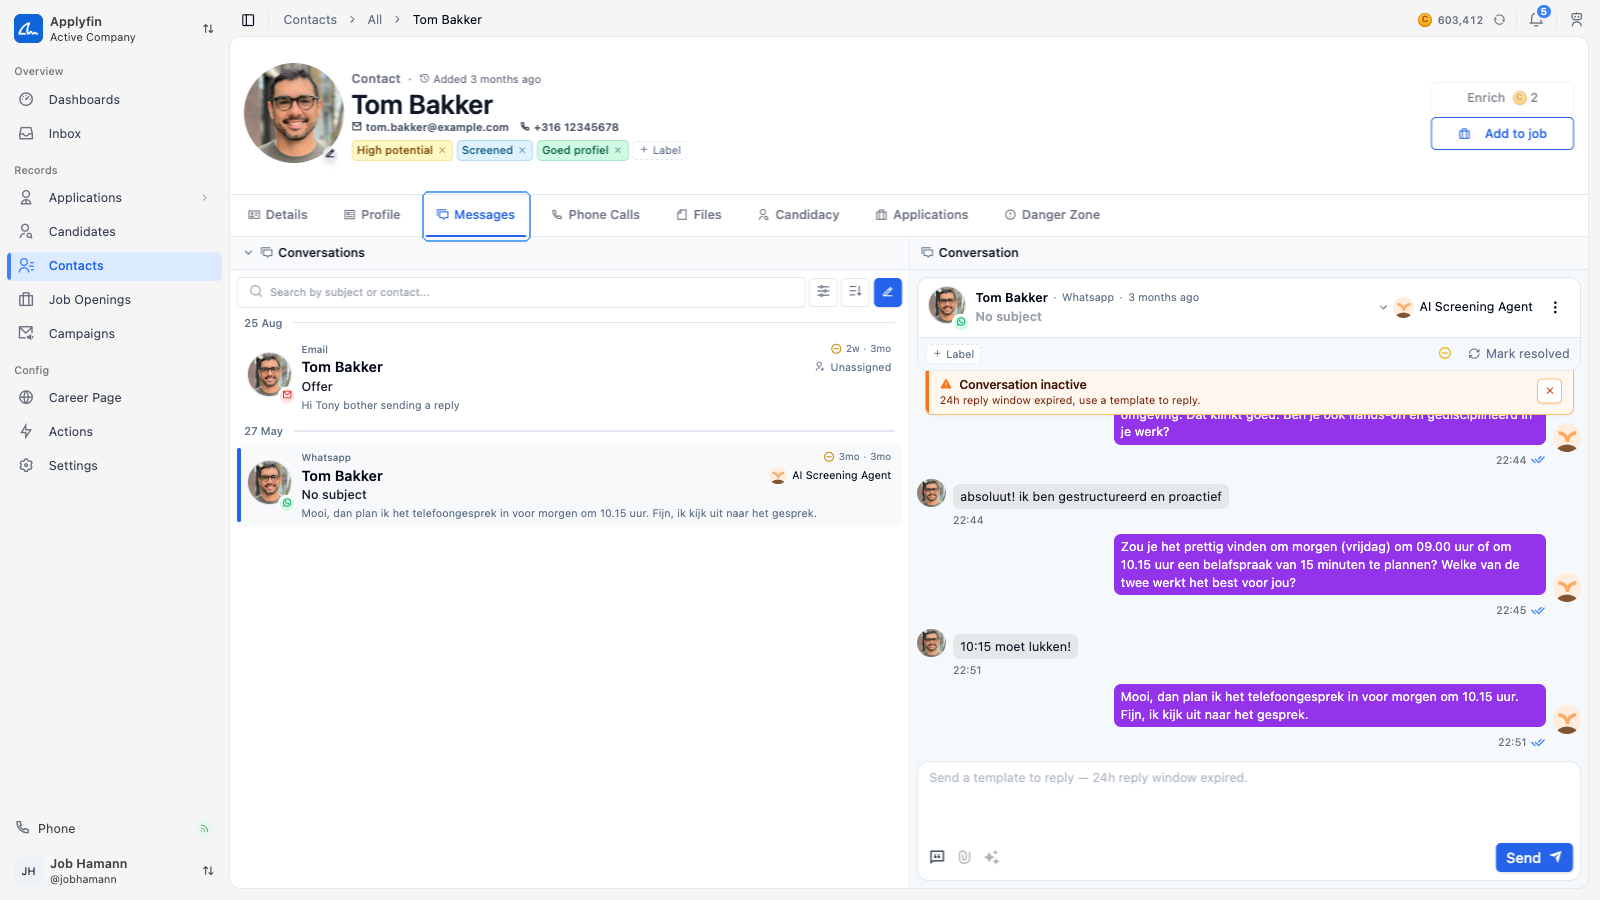
Both work the way they do on an application. The steps are covered under Reading messages and Making a call. The difference is what you see. An application shows what was said about one role. The contact shows every conversation and call with the person.
Files on a contact
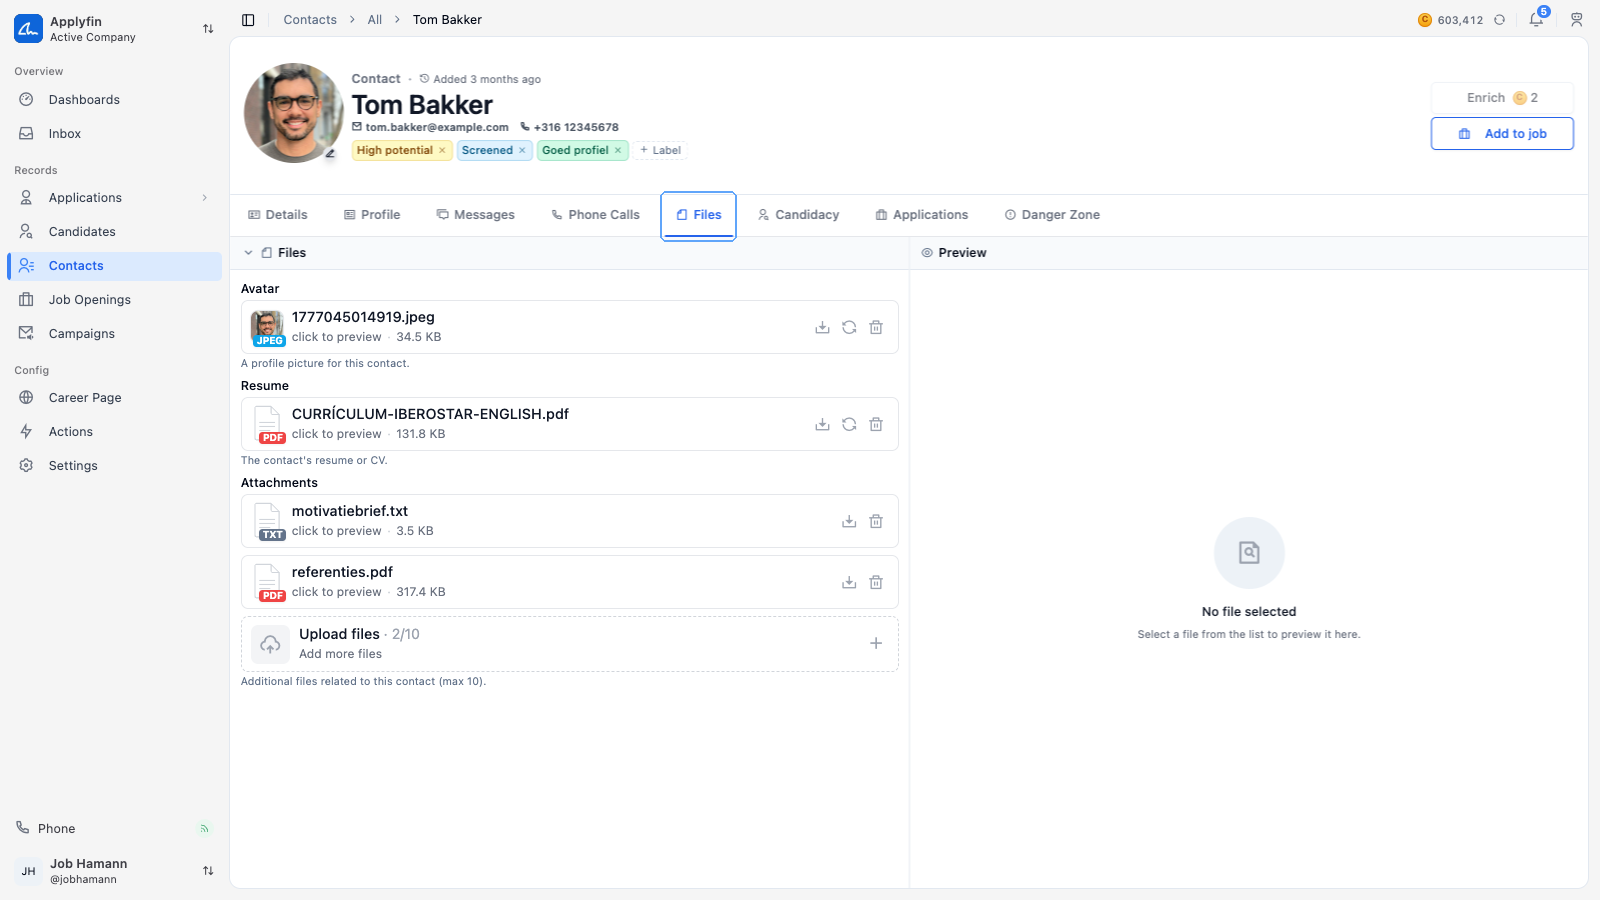
The Files tab holds the Avatar, the Resume and up to ten Attachments. Select a file to read it in the Preview pane.