

Labels
A label is a tag you define once and attach to records. Labels are set up under Settings > Labels, where they are kept per record type: Applications, Contacts, Talent Pools, Conversations and Phone Calls.
A label belongs to one record type, so an application is only offered the labels made for applications. A saved view can filter on a label, so you can reopen a filtered list without setting the filter again.
Relations
- Application — labels group applications in a way the stages do not.
- Talent Pool: labelled in the talent pool's header.
- Talent Pool member: shows the labels of the contact behind it. A label attached on a member is saved on that contact.
- Contact — labelled on the contact record.
- Conversation — labelled in the inbox.
- View — a saved list can filter on a label.
Creating a label
Labels are kept per record type under Settings > Labels, on the Applications, Contacts, Talent Pools, Conversations and Phone Calls tabs. A label has a name and a colour, nothing else.
To group records your own way, create a label.
- Open Settings > Labels.
- Select the record type the label is for.
- Select Add label.
- Pick a colour from the swatch.
- Fill in the Label name.
- Select Save.
The label now appears in the list, and it can be attached to records of that type.
Editing a label
To change a label's name or colour, edit it in the list.
- Open Settings > Labels and select the label.
- Change the name or the colour and select Update.
To delete one, select the cross on its row and confirm on Delete label.
Attaching a label
To group a record with others like it, attach a label. You do this on the record itself, with + Label in its header.
- Open the contact, talent pool, talent pool member, application, conversation or phone call.
- Select + Label.
- Search for the label and select it.
The label appears on the record, and the change is recorded in the activity.
Creating a label inline
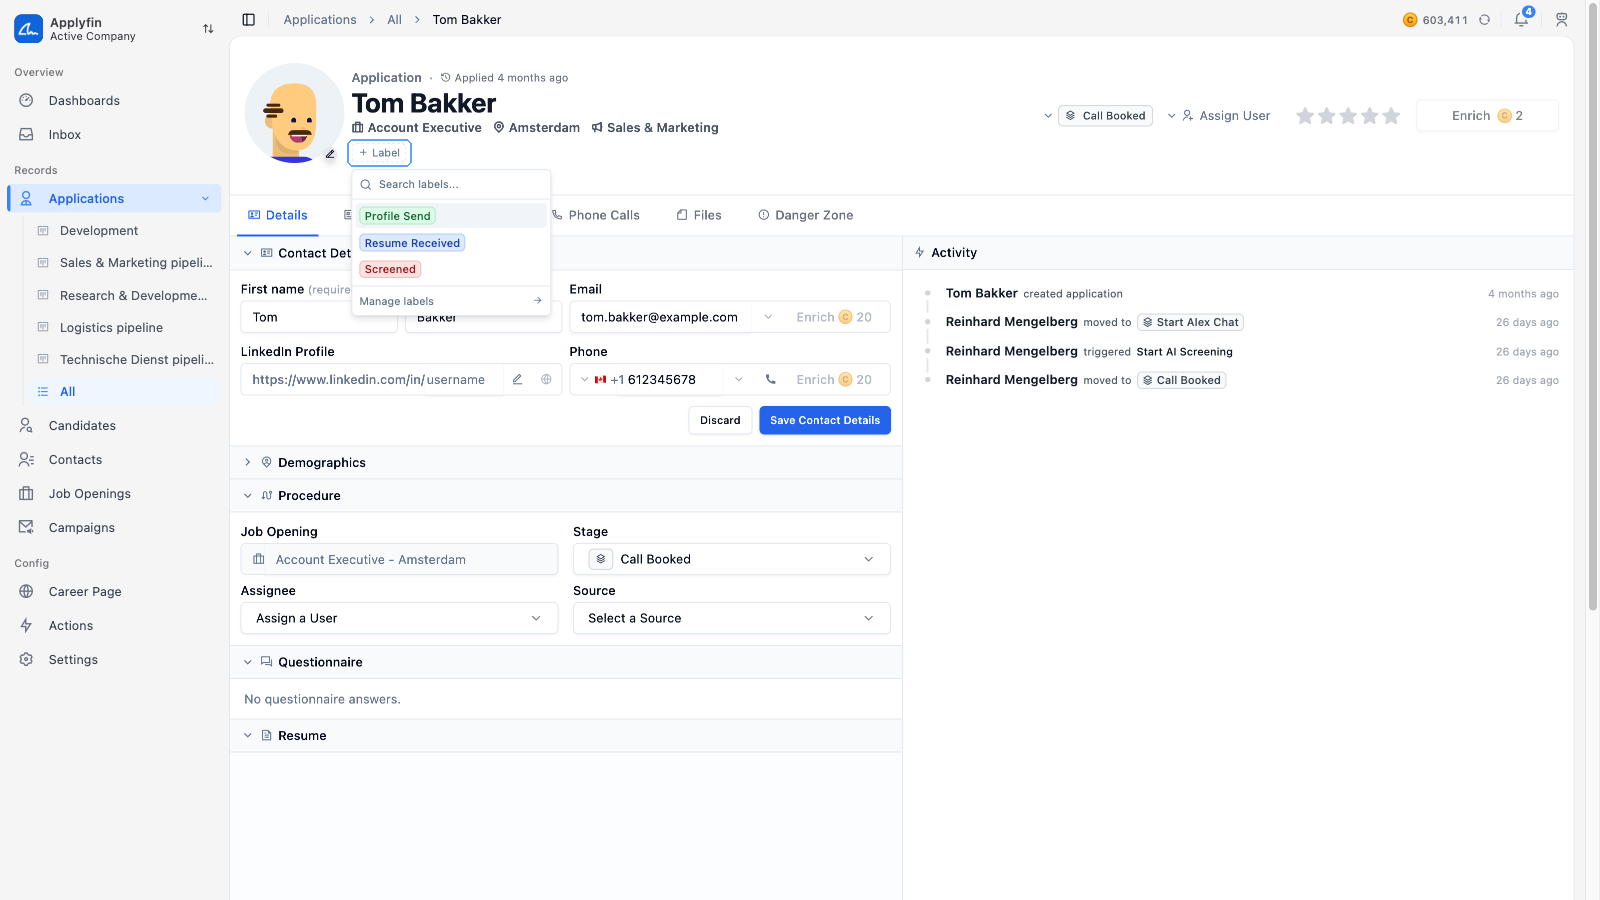
To label a record with something that does not exist yet, create the label from the record.
- Open the contact, talent pool, talent pool member, application, conversation or phone call and select + Label.
- Type the name you want.
- Select Create with your typed name.
The label is created and attached in one go. Set its colour afterwards under Settings > Labels, which you can also open with Manage labels at the bottom of the same menu.
Removing a label
Select the cross on the label.
Filtering a list
To show only the records with a label, filter on it. Contacts, applications and talent pools filter on Label, and the contact and application boards can group by it.
- Open Contacts, Applications or Talent Pools.
- Select Filters.
- Select Label and pick the labels you want.
The list now shows only records with those labels.
Grouping by label
To see a board by label instead of by stage, change what it groups by.
- Open Applications and select Kanban.
- Select Group by and pick Label.
Each label becomes a column.
Saving a filtered and grouped list is covered under Saving a view.